4Sync Manual
What is 4Sync?
So, you want to start using 4sync, but you don’t know how?
Now I will tell and show everything. The algorithm is extremely simple:
1. Download the program on our site
2. Install
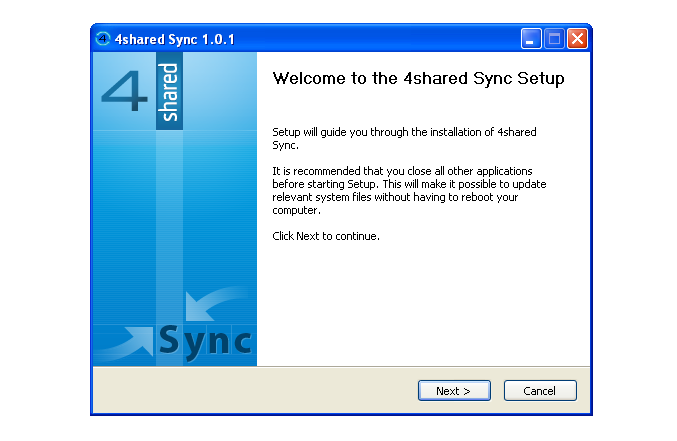
1) Start the installation process. Click Next to continue
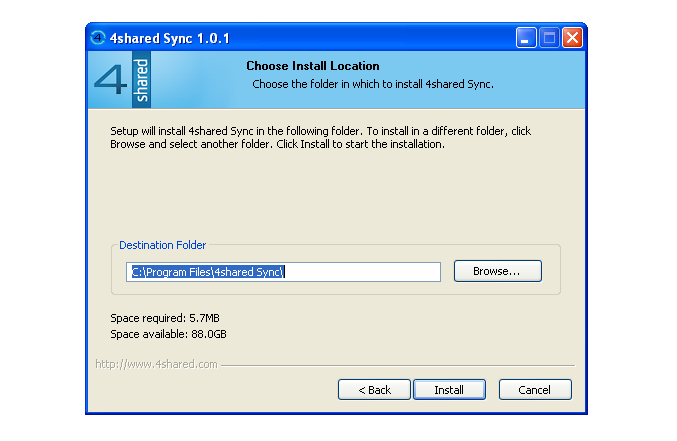
2) Choose the folder in which to install 4Sync. For this purpose you have to click Browse… button. After this click Install to start the installation.
3) After installation 4Sync to your PC, you will be asked to enter your 4shared login data. Just enter your 4shared login and password after clicking on “Log in existing account” .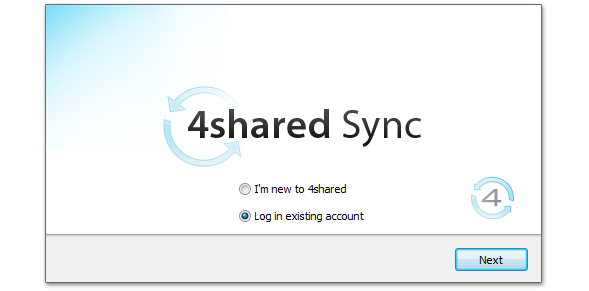
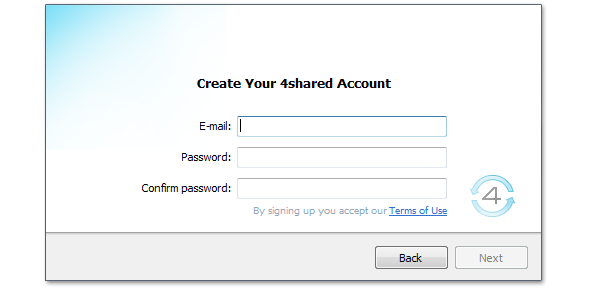
4) If you are new to 4shared, you have to register your account. It’s very simple. Just enter your email and password:
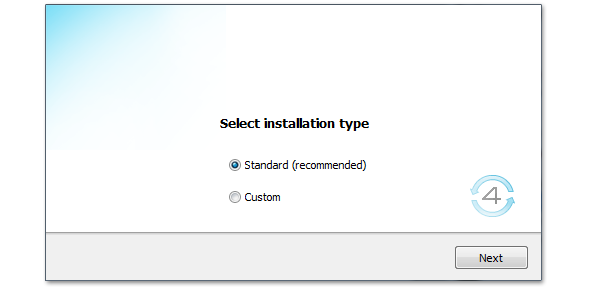
5) than you have to select installation type. It’s better to pick Standard type. But you can pick Custom if you want to change the default destination of the folder, that will be used to synchronize with your online 4shared hosted content:
6) On your desktop appears “My 4shared” folder:
7) In the bottom right corner of your desktop appears a system tray icon :
3. Synchronize files
What is synchronization?
Synchronization is a process of copying the data from one device/program to another. The aim of synchronization is to protect the data.
Why we need it?
We need synchronization to save you great amounts of time as well as ensure that your data is secure in the case of some problems with your PC. Data recovery is a very difficult, time consuming and expensive process, and it is not even assured that you will be able to recover your data from a system crash.
So, you already registered and obtained your 10 GB of free space! Now you can Drag and Drop files (move your files to 4Sync folder using a mouse or similar device). Now they are safe and secure!
Read our blog and stay with 4Sync! Bye!




No Responses
Leave a Response